Good evening nauc1,
Welcome to the Apple Support Communities!
I understand you have a few questions about taking screenshots with macOS Mojave 10.14.5. The Screenshot app has replaced the Grab application in Mojave. When you open that app, you can select the Options you would like in terms of where the screenshot is saved on your Mac. Although the floating thumbnail is only visible for a few seconds, the actual screenshot is available to you immediately via the Finder application. I've highlighted some key information here for you. Click on the link for complete details.
How to take a screenshot on your Mac
"In macOS Mojave:
Press Shift-Command-5 to see the onscreen capture controls.
Use the screenshot thumbnail
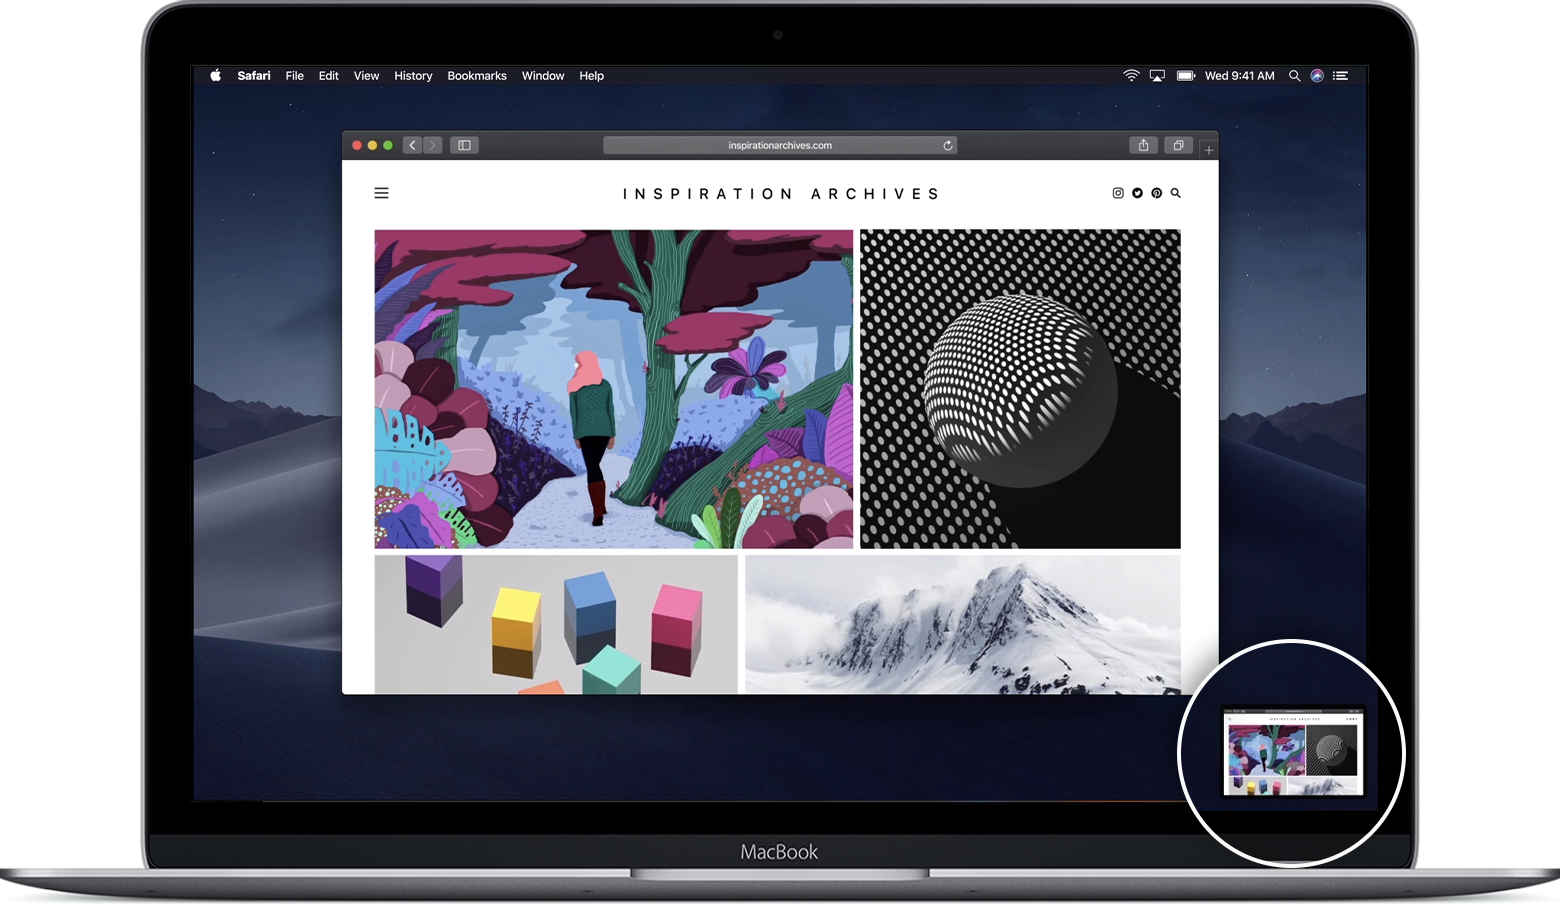
When you take a screenshot in macOS Mojave, a thumbnail of the screenshot appears briefly in the lower-right corner of your screen.
- Take no action or swipe the thumbnail to the right: The screenshot is automatically saved to your chosen save location, which by default is the desktop.
- Control-click the thumbnail to choose more actions, such as change the default save location, open the screenshot in an app, or delete the screenshot without saving it.
- Drag the thumbnail to move the screenshot to another location, such as to a document, an email, a Finder window, or the Trash.
- Click the thumbnail to open the screenshot. You can then use the markup tools in the toolbar to crop, rotate, annotate, and take other editing actions. Or click the share button
 to share the screenshot.
Clicking the thumbnail opens it in editing view. Hover your pointer over each button in the toolbar to see its function.
If you don't want the thumbnail to appear, click Options in the onscreen controls, then use the ”Show Floating Thumbnail” option to change the setting."
Take care.
