Ok - it's not a bug... You're scaling your "originals" up to 500% and depending on the filters to resize it back down to 100% (I think...). I know that sounds like it should work out except you're using the Kaleidotile to blow up an original, THEN scaling clones to do your "magic" (by the way - this is a great idea for a transition! I really like it.) Your originals should be scaled down and only ever scaled up to 100% (not the other way around.)
I stripped out all the scaling and reset the kaleidotile to be full screen to get this result:
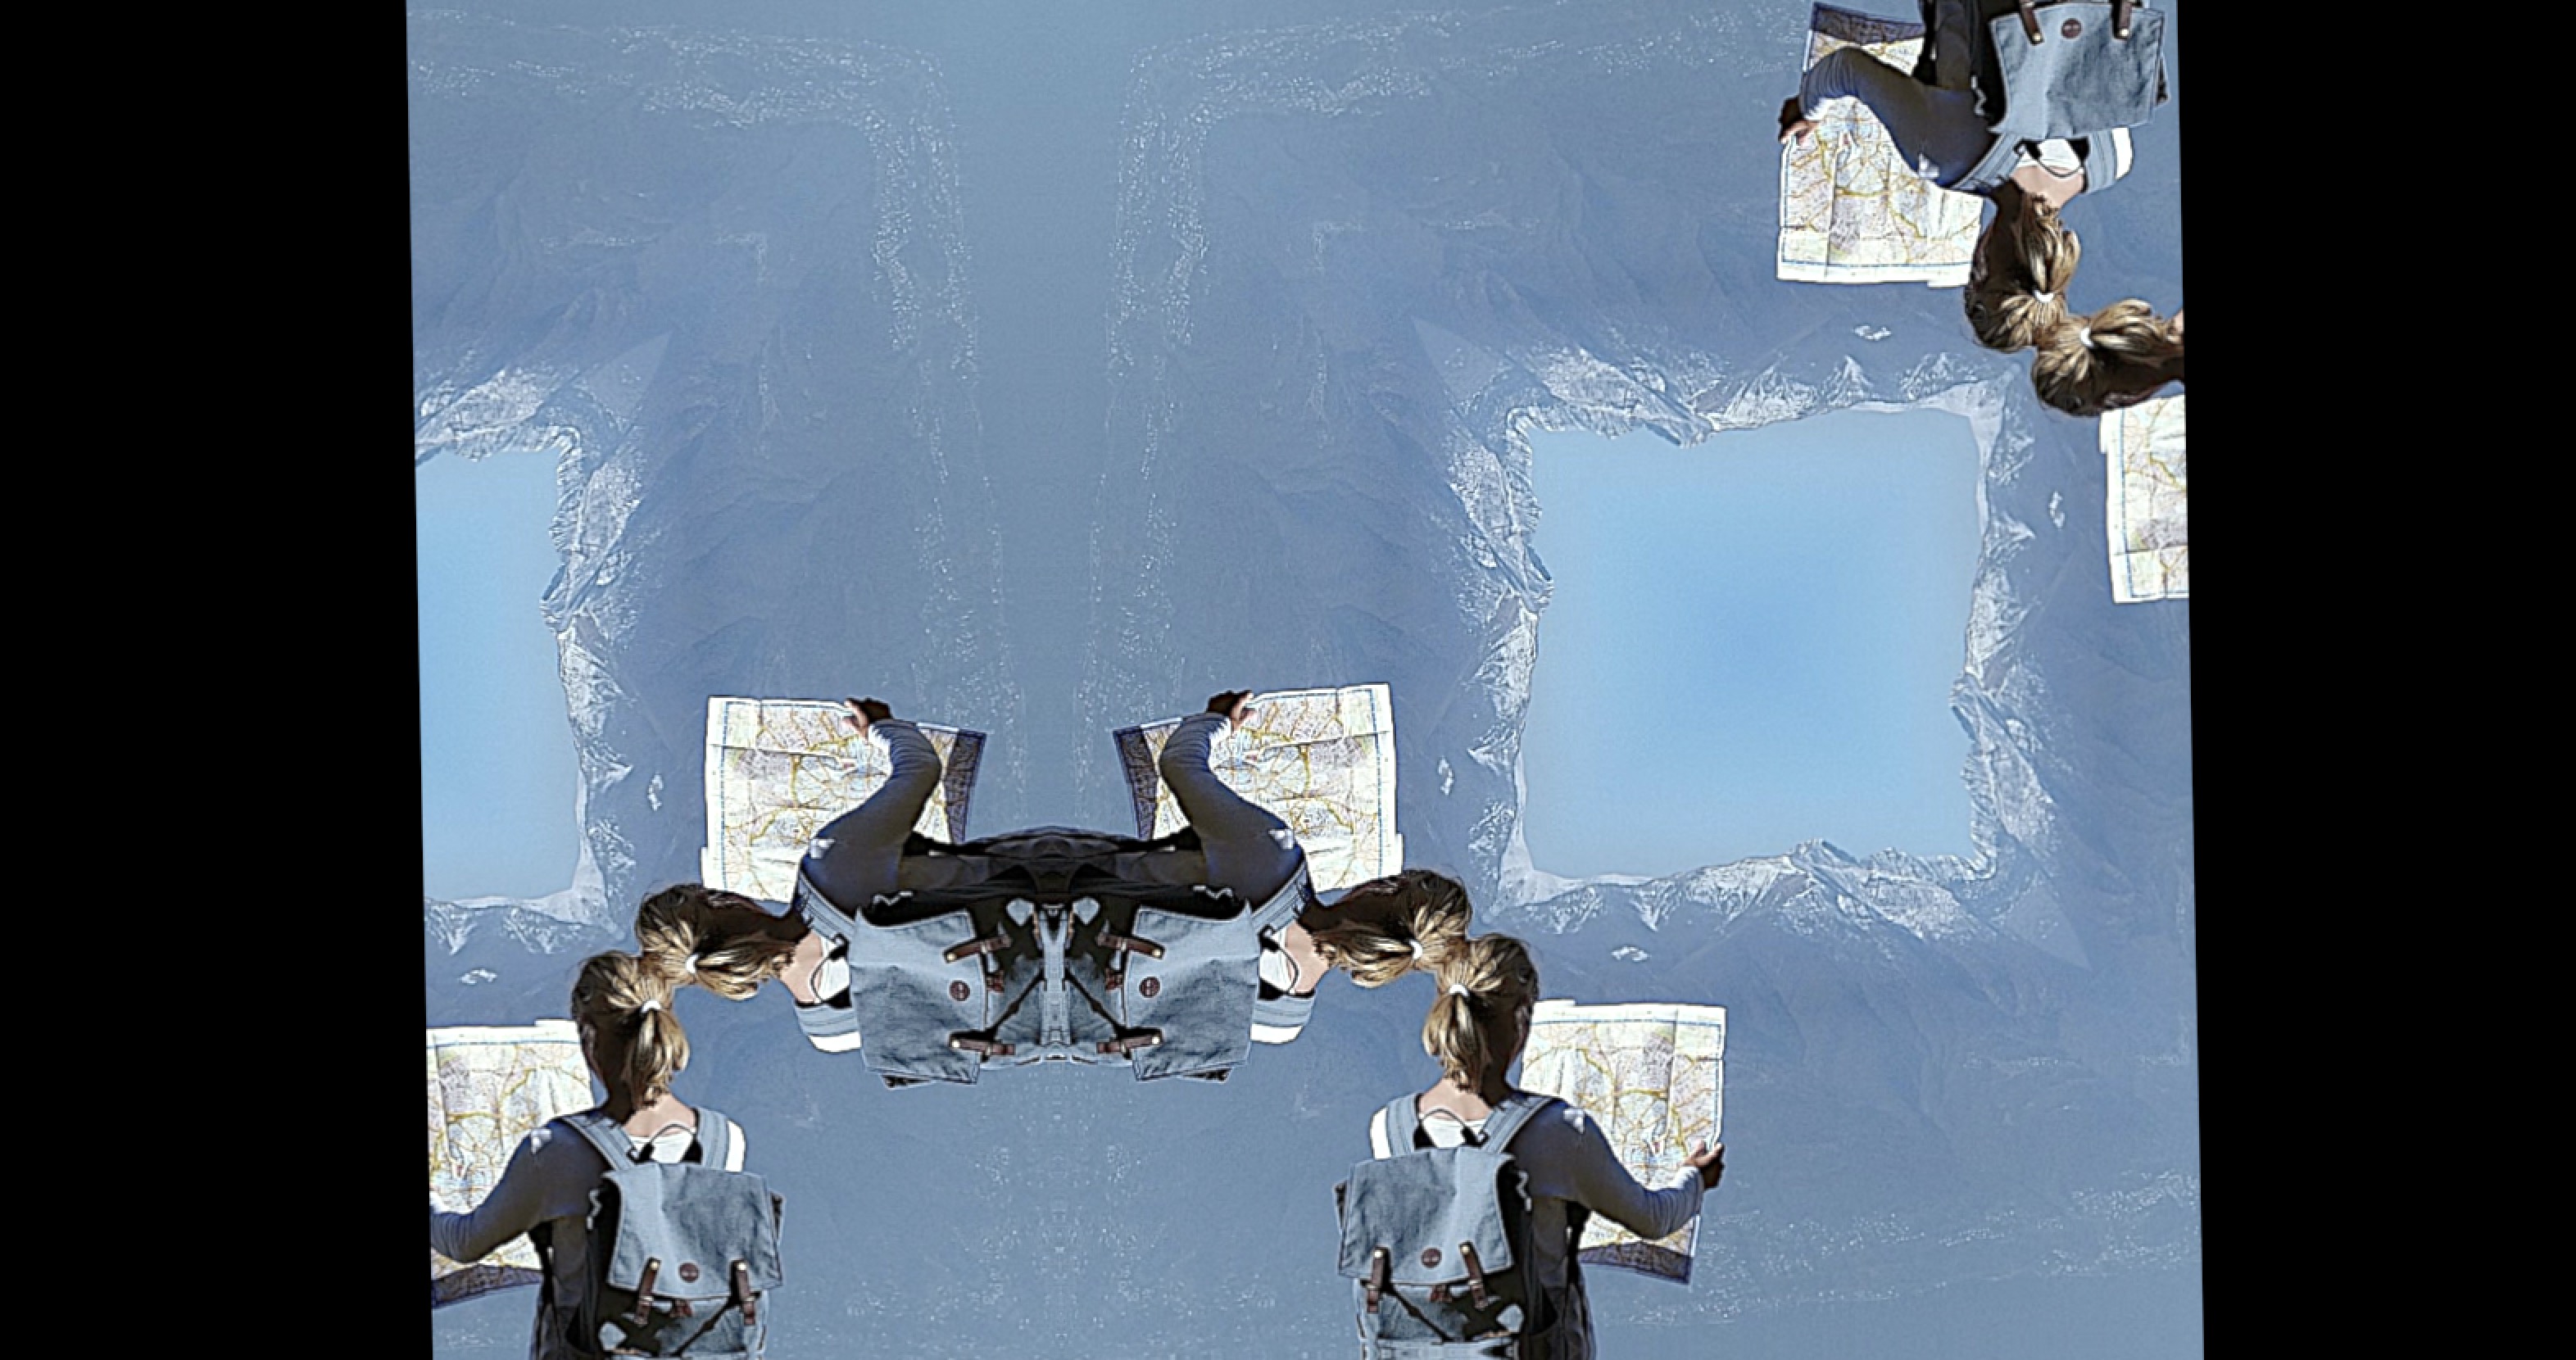
You can see the detail on the map(s)! as well as in the mountain tops (forming the squares)... [This is from Demo 01 Kaleidoscope].
Here's the deal - you need a different way to scale your images for use with Kaleidotile. Getting there is not intuitive.
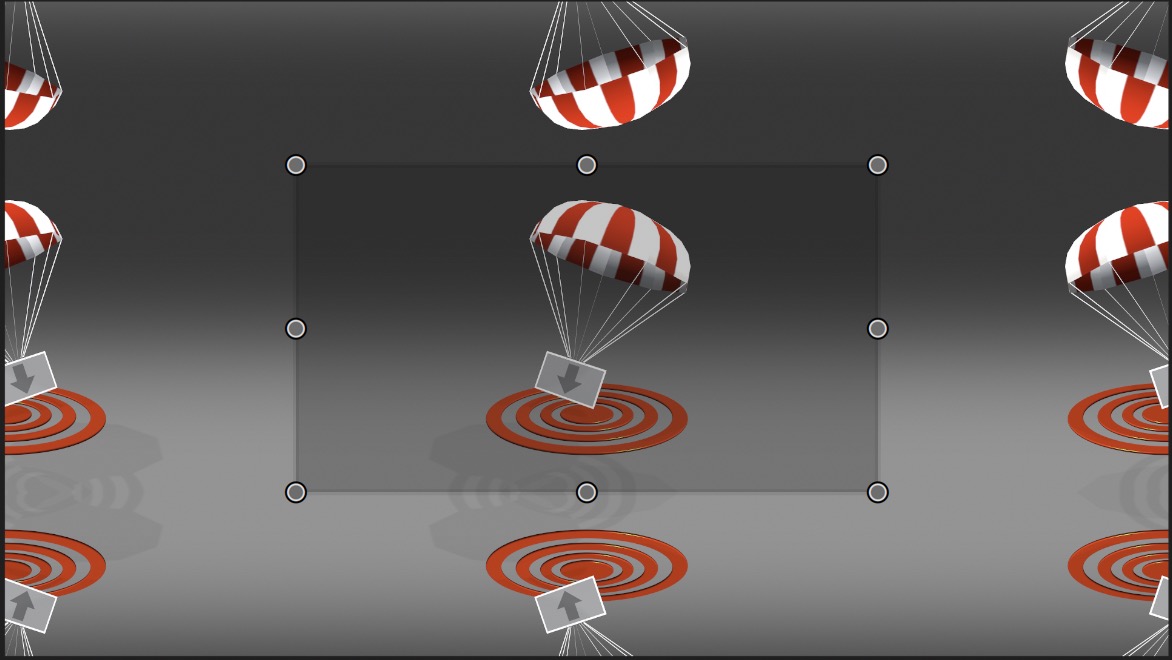
Start by making your own custom drop zone/transition source image. Doesn't have to be great (I recommend putting something in it so you can tell the kaleidotile layout is what you're going for). For this project, it needs to be 3840x2160 pixels and you can save it in any format you like (JPG is perfect). [BTW - I also advise using a 1920x1080 template — FCPX will conform it to any [16:9] size and I don't believe there is any loss of quality... but you've already started this, so...]
(I advise you practice the following a couple of times on a much simpler transition before digging into your already made projects because you will be changing the layer and behavior associations as soon as you switch the Sources).
Load the image into your project.
Go to the Image inspector and where it says: Type > Off - click the Off and select Drop Zone (you'll do the same for the other one later).
Once you do that, you will get these options:
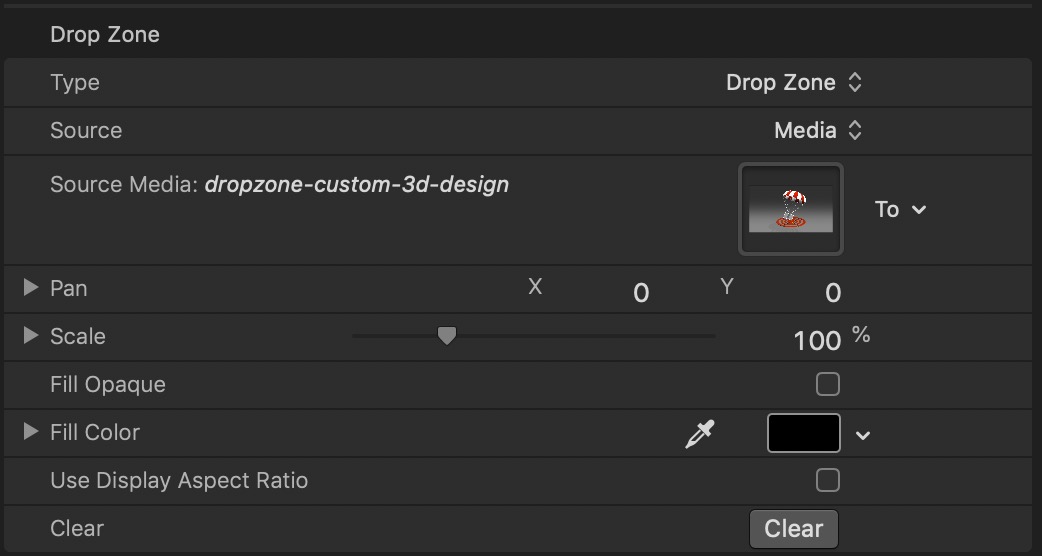
Notice how you get the Pan and Scale parameters? (BTW - you will NOT get these if you go straight to Transition A. You're also not likely to get them adding a regular drop zone to your project - you must create the drop zone from an image.)
As soon as you do this - remember the drop zone will automatically be published to your parameter list... this one is low key ;)
You can ignore all of this because what you need to do now is go back to Type and Choose Transition A:

(You will choose Transition B for the next one...)
AS SOON AS YOU DO THIS — what used to be Transition A will become a plain Drop Zone (called Drop Zone) and will also be published to your parameter list! [Delete it - it's trash now].
And there you have the magic Scale parameter. Set it to 50%. [BTW - this double selecting image type is the *only* way to produce the Scale parameter for the transition source.]
Add your Kaleidotile to that with the width and height set to 1920 x 1080 (half project dimensions). You should see the FULL frame of your image (inside Kaleidotile's OSC) PLUS the outer edges filled with flipped and inverted copies:
This is more along the lines of what you want to start with, and this should become the source for your clone layers. Try to keep your zooming within the bounds of kaleidotile to full screen (200%) [may be able to start with 20% to get a max 500% zoom... I actually have not tested this in your project, so YMMV. Whatever you start with, the maximum scaling should restore 100% of the image to 100% of the project size - make sense?]
This **should** work for you. I used this technique to do a Zoom transition:
https://www.youtube.com/watch?v=cP_eRYljXts
If you stop the playback inside the start/ending points of the zoom and look past the zoom "blur" , you can tell the images are still quite sharp. In your demo transitions, as soon as the playhead enters the transition zone/range, the images go soft immediately.
I hope you're successful with this! I like it!